Why Is My Resin Floor Blooming? White & Cloudy Resin Causes
What is Resin Blooming?
Resin blooming is when, instead of curing to an even sheen, a resin floor surface develops a white, hazy or greasy-looking film. It can appear as patches, as streaks that follow the roller marks, or as a general milky cast across the whole bay. On a clear sealer, it is unmistakable.
The important thing to understand is that blooming is not a manufacturing fault in the resin. It is a site condition problem, and it is very largely preventable. It is also one of the more common complaints we are called out to across resin flooring UK-wide, particularly on jobs installed between October and March.
That is why resin flooring should be installed by resin flooring specialists rather than treated as a general trades job. A supplier can sell anyone a drum of epoxy. Knowing whether the building is fit to receive it on the day is the part that takes experience.
Where resin blooming issues start
Blooming usually begins in the first few hours after application, while the resin is still open and reacting. We most often see it in large, open areas such as warehouse resin flooring and resin factory flooring, simply because those buildings are the hardest to keep at a steady temperature.
Most industrial epoxy systems cure using an amine hardener. Amines are reactive, and they will happily react with moisture and carbon dioxide in the air as well as with the resin they are supposed to be bonding to.
When that happens, the amine at the surface forms carbamates instead of curing properly, and those carbamates sit on the floor as a white, waxy bloom.
Three conditions that can cause resin blooming
1. Low temperature
Cold slows the cure right down, which leaves the surface reactive for longer and gives it more time to pick up moisture from the air. Slabs are often several degrees colder than the air in the building, particularly a ground-bearing slab in winter, so air temperature alone is a poor guide.
2. High humidity
The more moisture there is in the air, the more there is available to react with. Problems climb sharply as relative humidity rises, and the risk becomes acute if the surface temperature falls to within a few degrees of the dew point, because moisture then condenses directly onto the wet resin.
3. Carbon dioxide
If a building is being warmed with LPG or diesel space heaters, those heaters are producing carbon dioxide and water vapour and putting both straight into the air above the floor. A well-meaning attempt to warm the site up can be the direct cause of the bloom.
How to prevent resin blooming
1. Know the numbers before you commit
We record substrate temperature, air temperature, relative humidity and the dew point before starting, and we keep monitoring them through the cure. If the substrate is within about three degrees of the dew point, the floor does not go down that day.
2. Control the temperature properly
Warm the slab, not just the air, and do it in advance rather than in the morning. Use indirect or electric heating so combustion products stay out of the building. Keep the heat on through the cure rather than switching it off at the end of the shift, because a floor that cools rapidly overnight can bloom hours after the installers have left.
3. Manage the air
Gentle ventilation helps by moving damp, carbon dioxide-rich air away from the surface. Aggressive draughts do not, because they cool the floor unevenly. The aim is a stable environment, not a windy one.
4. Specify the conditions
Where a job has to go ahead in cold or damp conditions, there are systems designed for it. Low temperature cure epoxies, and polyurethane or MMA systems that are far less sensitive to humidity, all have a place. Choosing the right product for the week you are actually working in is more useful than trying to force the standard specification through.
5. Get the preparation right
A properly ground, dry and dust-free substrate cures more predictably. Moisture rising through the slab adds to the moisture load at the surface, so moisture testing before installation is part of blooming prevention as much as it is part of adhesion.

What a finished resin floor should look like
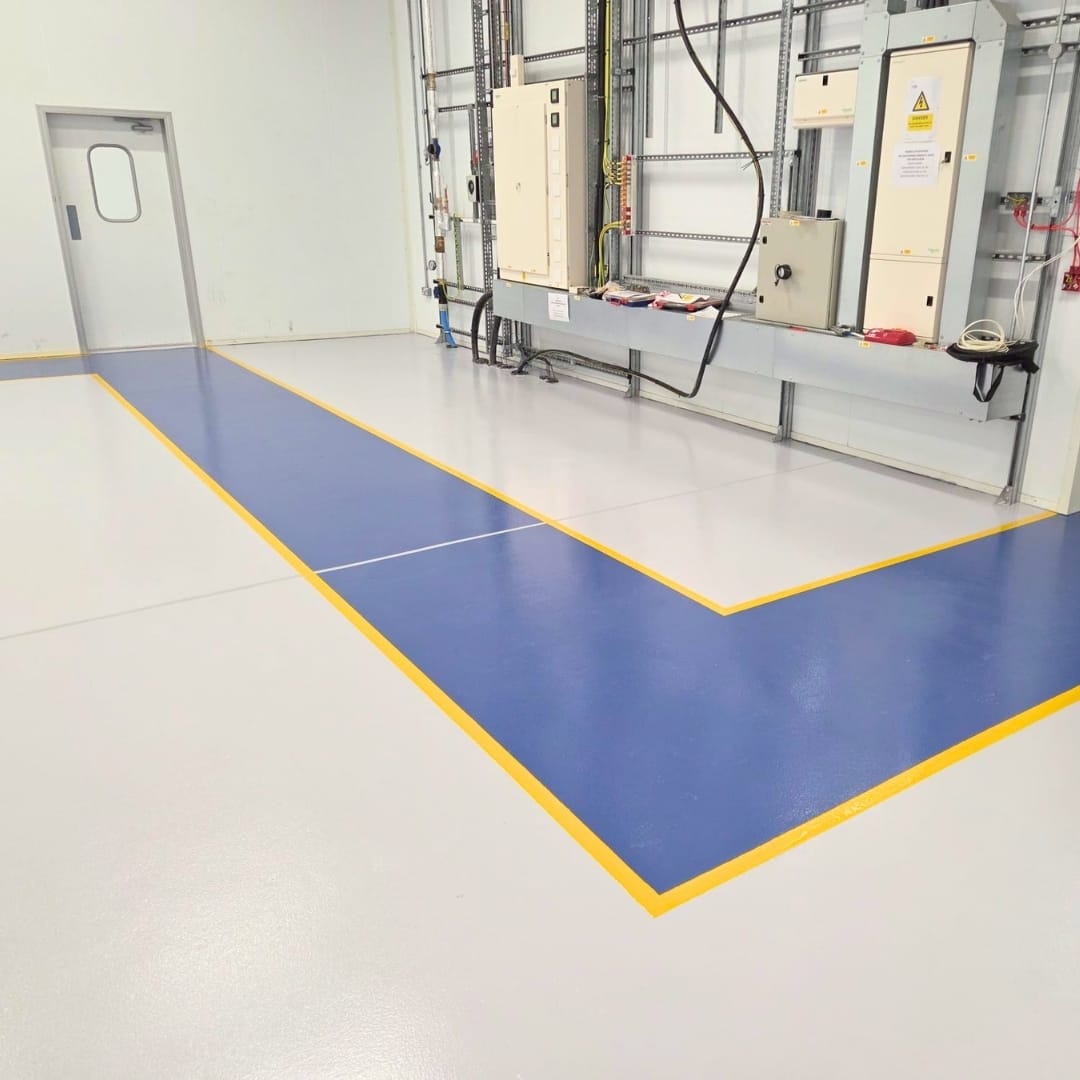
A correctly cured resin floor has an even, consistent sheen across the whole area, with no milky patches, no roller ghosting and no residue when you run a hand over it. The colour reads the same at the wall as it does in the middle of the bay.
Resin blooming is often more visible under the strip lighting of a warehouse than it is in daylight. Where it has affected adhesion, the only reliable fix is to remove the affected layer mechanically and re-lay it, which is why we would far rather spend an extra day getting conditions right than a week putting a bloomed floor back.
Our process
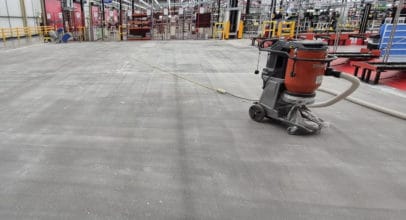
Every project starts with a free survey. We then mechanically prepare the concrete using our own dust-extracted diamond grinders, in line with the FeRFA Code of Practice.
During installation, we monitor conditions continuously and mix in controlled batches, and if conditions move outside the window, we stop and tell you why rather than pressing on and hoping.
To find out more about our resin flooring process and services, get in touch with us below for a free consultation.